
Cyanotype is one of the most accessible and rewarding alternative photographic processes. Created in 1842 by Sir John Herschel, it allows you to easily obtain deep blue prints (the famous Prussian Blue) using only sunlight or a UV exposure unit.
Why start with Cyanotype?
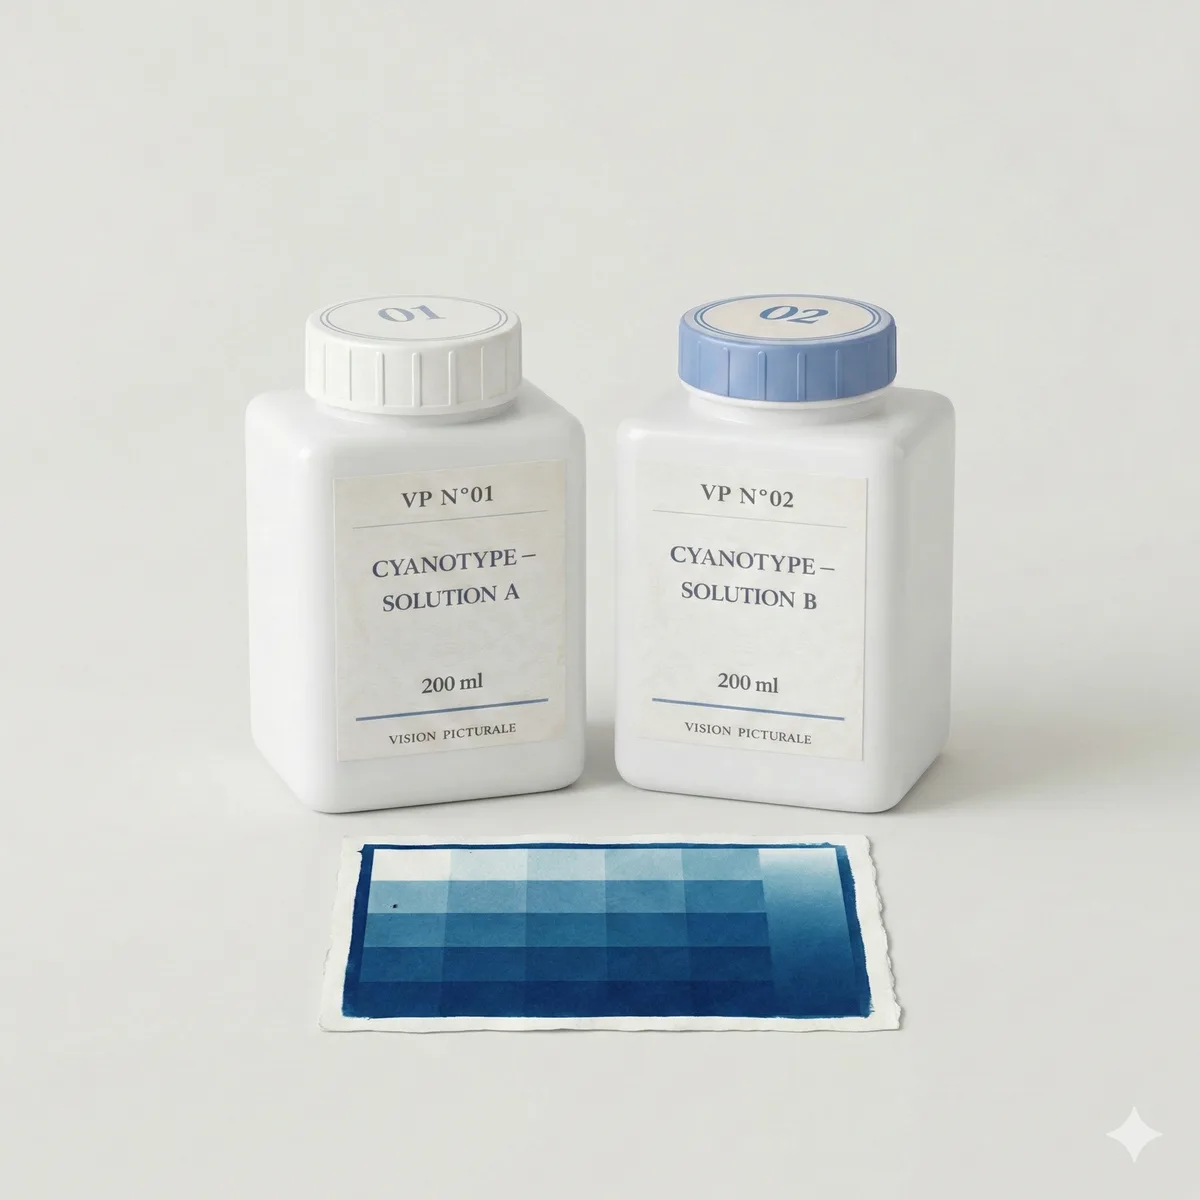
Unlike traditional silver printing, cyanotype does not require a darkroom or an expensive enlarger. It does use photographic solutions: read each bottle's safety information and the relevant SDS when available, then wear the indicated protection before starting.
Step 1: Preparing the chemistry
The cyanotype chemistry consists of two iron salts:
- Ferric ammonium citrate
- Potassium ferricyanide
Follow the supplied mixing protocol in a dimly lit environment. Before this step, consult the bottle safety information and the relevant SDS when available; VP N°01 can cause skin irritation and the indicated gloves must be worn.
Step 2: Coating the paper
Using a foam brush or a Hake brush, spread the chemistry evenly over high-quality watercolor paper (minimum 300gsm). Allow it to dry completely in the dark.
Step 3: Exposure
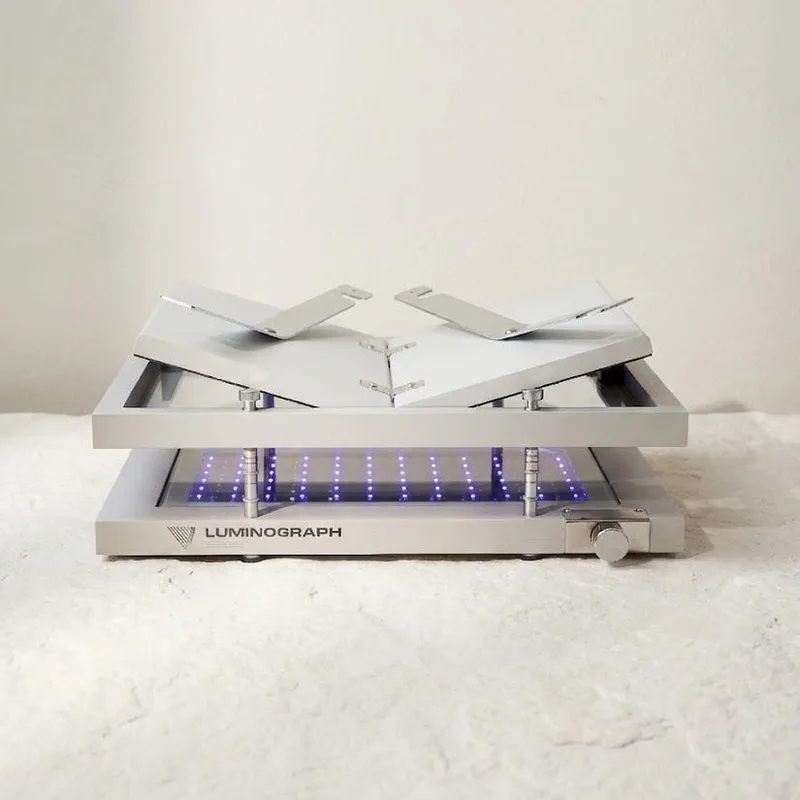
Place your digital negative or botanical specimens (to make a photogram) on the dry paper. Press everything under a heavy sheet of glass. Expose to UV light! The exposure time varies depending on the light source (from a few minutes under our Luminograph to tens of minutes under winter sun).
Step 4: Washing/Developing
Simply rinse your sheet under running tap water. The unexposed areas (hidden by the negative) will dissolve away, revealing the white of the paper, while the UV-exposed areas will remain permanently fixed in the paper as a beautiful blue.
Before your first print, prepare your workspace to the product instructions, wear the indicated protection, and consult the relevant SDS when available.
Further reading: fixing a failed print · which paper for cyanotype · the cyanotype process · the cyanotype kit
Tristan Sidem & Raphaël Lebas de Lacour — Vision Picturale