
A failed print almost always comes down to three documented parameters: exposure time, negative density, and paper. In a contact process, the negative carries the geometry, the sharpness, and the tonality of the final image — check it before blaming the chemistry or the paper. The right diagnostic reflex is to change one variable at a time: remake the print altering only the suspect parameter, keeping everything else strictly identical.
Before Fixing Anything: One Variable at a Time
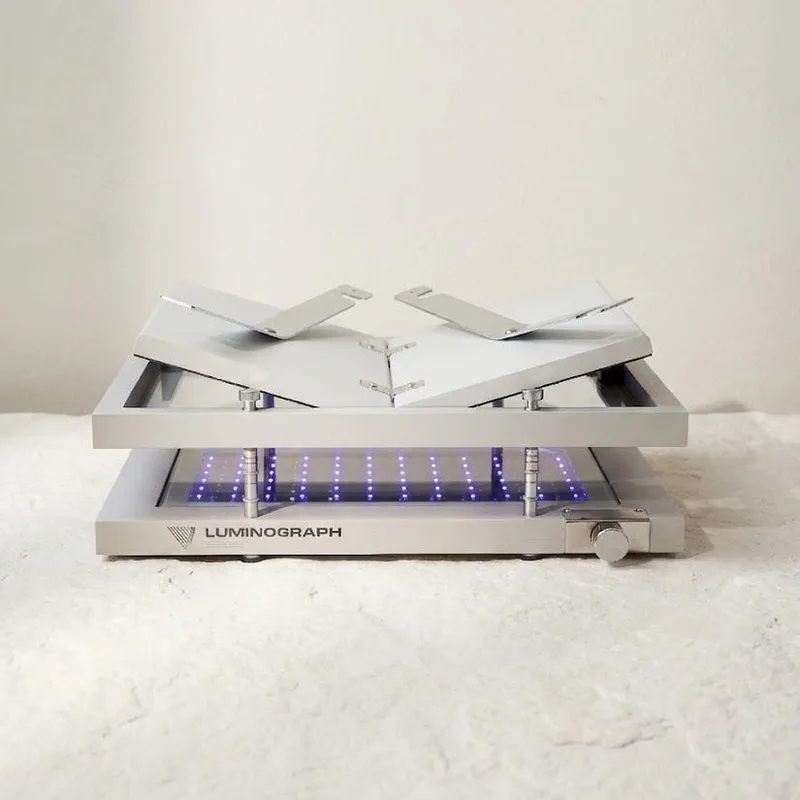
This method assumes constant exposure. In sunlight, times range from 5 minutes to over an hour for the same emulsion, the same paper, and the same negative, depending on the season — and a passing cloud cuts exposure by 60%. A UV unit like the Luminograph (395-400 nm UV-A) emits at constant power whatever the hour or the season: the same count of minutes gives the same exposure, the precondition for comparing two prints. Writing down your parameters — time, pigment, passes — is what lets you repeat your successes. A negative validated on cyanotype, a tolerant single-coat process, becomes the reference before tackling gum's narrow window.
Pale Cyanotype: Underexposure, Too-Dense Negative, or Over-Sized Paper
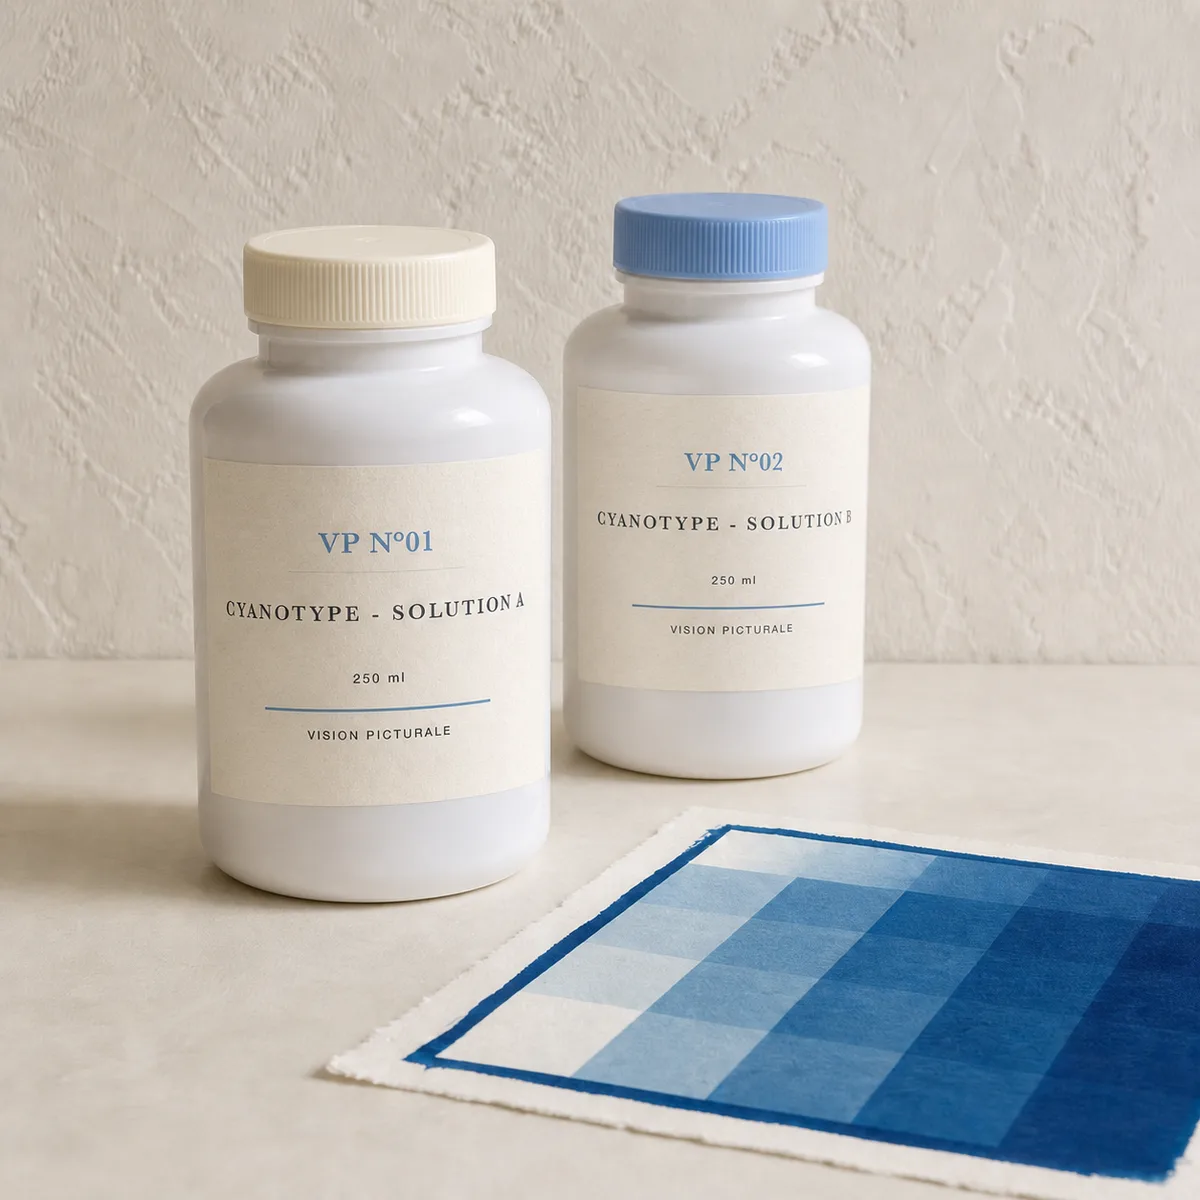
A weak, uniform blue means UV light did not form enough Prussian blue: under UV-A, iron III reduces to iron II and forms the pigment — if the light dose falls short, the image stays pale. First cause: underexposure. The documented range is 5 to 15 minutes under a 365 nm UV-A unit placed 30 cm away, and 3 to 8 minutes in midday summer sun; under oblique winter sun, count 25 to 45 minutes. The reliable visual cue: the image turns grey-bronze during exposure, the sign that exposure is sufficient.
Second cause, when exposure time is correct: a negative that is too dense overall, blocking UV across the whole surface. Negative density directly drives exposure time, and a negative printed without a compensation curve can be globally too opaque. Third cause, on the paper side: an over-sized, very smooth paper prevents the chemistry from soaking in and yields a pale print. For cyanotype, medium sizing is ideal — the chemistry penetrates the surface without being fully absorbed.
- Lengthen exposure within the documented range — 5 to 15 minutes under 365 nm UV-A at 30 cm — until the grey-bronze shift appears.
- Linearize the negative: ICC profiles supplied with VP kits, or a corrective curve built with Calibration Flow.
- Switch to 100% cotton paper with medium sizing, at least 300 gsm, such as Bergger COT 320 or fine-grain Arches.
- Outside summer sun, extend heavily: 25 to 45 minutes in winter, with results that stay unpredictable under clouds.
The Image Washes Away: Prussian Blue Never Formed
The cyanotype rinse lasts five minutes under running water and dissolves everything that is not insoluble Prussian blue: areas protected by the negative return to white, exposed areas stay fixed. If the whole image fades or disappears in the tray, exposure was not sufficient to form the pigment — the same defect as a pale print, at a more severe degree. A negative that is too dense overall produces exactly the same symptom as too short a time.
The fix takes two gestures. Wait for the grey-bronze shift before rinsing: as long as this documented cue has not appeared, exposure is not finished. Then remake the print with a longer time within the 5 to 15 minute range, without touching the paper or the negative — one variable at a time. The rinse itself is not negotiable: five minutes, until the water runs clear. It is what clears the print of residual salts and underpins its one hundred to one hundred fifty year permanence.
Blue Veil in the Highlights: Overexposure, Cut-Short Rinse, or Optical Brighteners
Highlights that are not clean white have three documented causes. Overexposure first: if the negative is not dense enough, UV light passes through the areas meant to protect the highlights and forms Prussian blue where the paper should stay white. The remedy lives in the file: a linearization curve — the kits' ICC profiles or a Calibration Flow curve — restores the density that blocks UV where the paper must remain white.
A cut-short rinse next: the protocol calls for five minutes under running water, until the water runs clear and unexposed areas return to white. An interrupted rinse leaves salts in the highlights. Paper last: optical brightening agents react poorly with the iron salts of cyanotype, causing premature yellowing and loss of contrast. A simple test: OBA-free paper does not glow blue under a UV lamp. Bergger COT 320 and fine-grain Arches papers are safe choices.
A related case: a cyanotype that fades after mounting. Prussian blue is chemically stable but sensitive to alkaline environments — prolonged contact with non-neutral board or a basic mat causes progressive fading. Mount the print on certified pH-neutral board; a bath of water lightly acidified with lemon juice can restore a faded cyanotype.
Aquaprint Layer That Won't Hold: Exposure Window, Pigment Ratio, Paper Prep
Aquaprint's mechanism decides everything: exposed gum hardens and retains the pigment, unexposed gum dissolves during clearing in warm water at 40°C. A layer that washes off entirely simply did not harden enough. The exposure window is narrow — 2 to 5 minutes per layer under the Luminograph — and a negative too light or too dense ruins the coat. The cue before development: the exposed coat must have visibly changed hue. Each variant has its own range: 2 to 4 minutes for black Monochrome, 3 to 6 minutes for Sanguine, whose warm pigment requires slight overexposure.
Second suspect: the dosage. The pigment-to-gum ratio determines the density of the layer; the documented starting reference is one teaspoon of pigment per 10 mL of gum — and 5 mL of pigment for an A4 sheet in Sanguine. In four-color work, this dosage must stay constant between layers. Third suspect: paper preparation — the sheet is scalded, then sized with four coats of transparent gesso. Under-sized paper absorbs all the chemistry and gives a flat, low-contrast result.
The clearing protocol, finally, is a parameter in itself: a ten-second development in diluted VP N°03 developer, then clearing in warm water at 40°C for five to ten minutes. Do not force it: let the water work, a soft brush helps stubborn areas. Between layers, respect the drying times — 30 to 45 minutes in the dark before exposure, two hours before the next layer. Four-color CMYK additionally demands exposure control to within ten seconds: fifteen to twenty monochrome prints remain the recommended preparation before attempting it.
- Expose within the documented window: 2 to 5 minutes per layer (2-4 min Monochrome, 3-6 min Sanguine); the coat must have visibly changed hue.
- Check the negative: too light or too dense, it ruins the coat — linearize with the ICC profiles or Calibration Flow.
- Return to the reference dosage: one teaspoon of pigment per 10 mL of gum, kept constant between layers.
- Prepare the paper: scalded sheet, then four coats of transparent gesso.
- Clear in warm water at 40°C without forcing: five to ten minutes, soft brush on stubborn areas.
- Dry 30 to 45 minutes in the dark before exposure, and two hours between layers.
Left-Right Reversed Image: The Forgotten Mirror Flip
A left-right reversed print has a single cause and a definitive fix. The negative is exposed emulsion side — the printed face — against the paper, to eliminate any film thickness between the ink and the sensitized coating. The image must therefore be flipped horizontally in the file before printing: without this mirror, the final print reads reversed. The mistake is invisible on a photogram or a symmetrical subject, and glaring as soon as the image contains text or a face.
The fix: reprint the negative with the horizontal flip applied — value inversion, of course, is still required, the image's highlights becoming the dense areas of the film. Take the opportunity to check the contact: any gap between film and paper creates diffusion blur that softens detail. Three remedies, in order of cost: a glass sheet pressed over the negative-paper sandwich, a hinged contact printing frame, or the Luminograph's built-in press frame.
Prevent Rather Than Repair: Linearize the Negative, Fix Your UV Source
Most symptoms on this page trace back to the negative. Every process — and every pigment in four-color work — has its own response curve; without compensation, the grey values of the file will not translate faithfully into the print. The ICC profiles supplied with Vision Picturale kits compensate for these curves process by process. With gum's narrow exposure window, this compensation is no refinement: a negative too light or too dense ruins the coat.
To build your own curve, Calibration Flow replaces the densitometer: a 25-patch test chart to expose, a measurement of the resulting print with your smartphone camera, and a corrective curve computed through robust LOWESS linearization and monotone PCHIP interpolation, applied directly in the app on the free account. The .acv export for Photoshop and Lightroom (Pro mode) comes on top. The app is free with sign-up, and one year of Pro comes with any Luminograph purchase.
What remains is source discipline: density can only be judged at constant exposure. That is the limit of sunlight — from 5 minutes to over an hour depending on the season — and the reason constant-output UV units exist. With reproducible times, a parameter notebook, and a linearized negative, troubleshooting becomes the exception: a failed print then reads as a deviation on a single, immediately identifiable parameter.
Further reading: the digital negative guide · cyanotype · Aquaprint · which paper for cyanotype
Tristan Sidem & Raphaël Lebas de Lacour — Vision Picturale