Comment faire un tirage photo alternatif — Cyanotype, Gum Print, Carbone pas à pas | Vision Picturale
Process
One process
five techniques
From blank paper to a unique work of art: discover the 4 steps of handmade printing and explore each technique's specifics.
4 steps
The universal
process
Regardless of the technique chosen, the workflow remains the same. Only the times and chemistry vary.
Prepare
Sensitize the support
Mix your chemistry and coat the paper with a brush.
- Dim ambient light
- Wide, soft brush
- Thin, even coat
Calibrate
Print the negative
Use the provided ICC profiles to create your negative.
- Calibration Flow access included (25-patch test chart generation)
- ICC profiles per process
- Standard transparent film
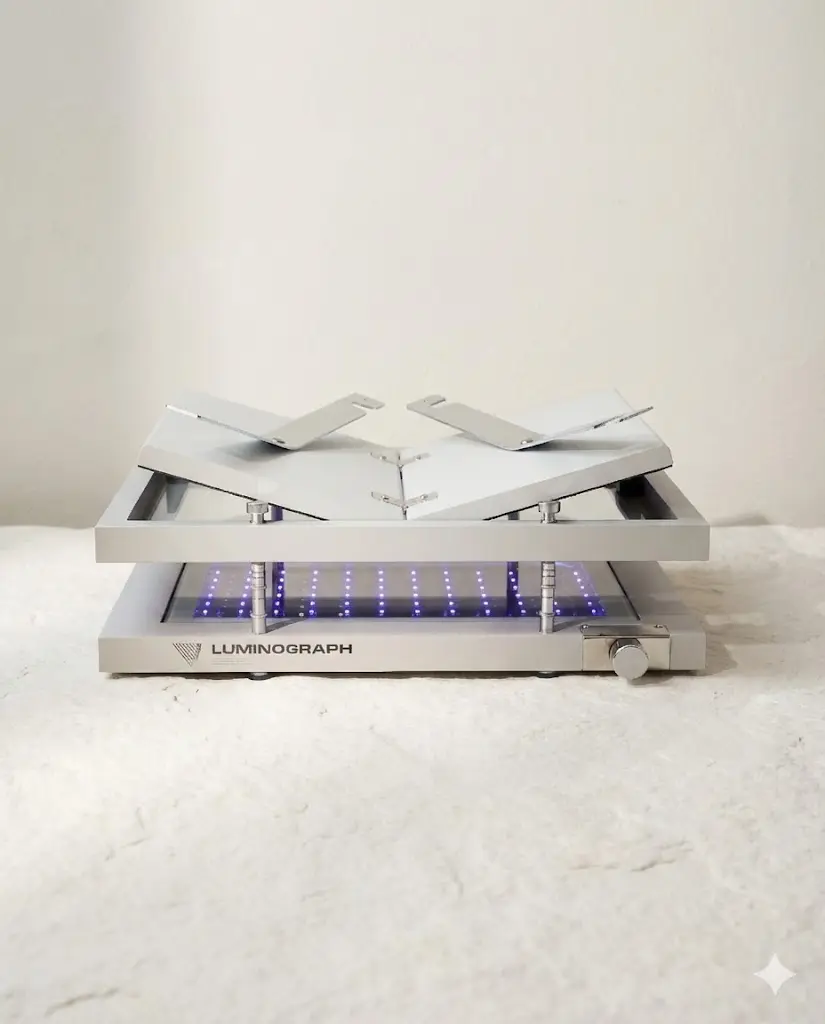
Expose
UV exposure
Place the negative in contact and expose to UV light.
- Perfect negative/paper contact
- Luminograph or sunlight
- Precise timer provided
Reveal
Rinse and fix
Reveal the image with water. 100% non-toxic chemistry.
- Tap water
- No toxic chemicals
- Can be done in a kitchen
8 techniques
Choose your process
Each kit contains everything you need to master a technique.
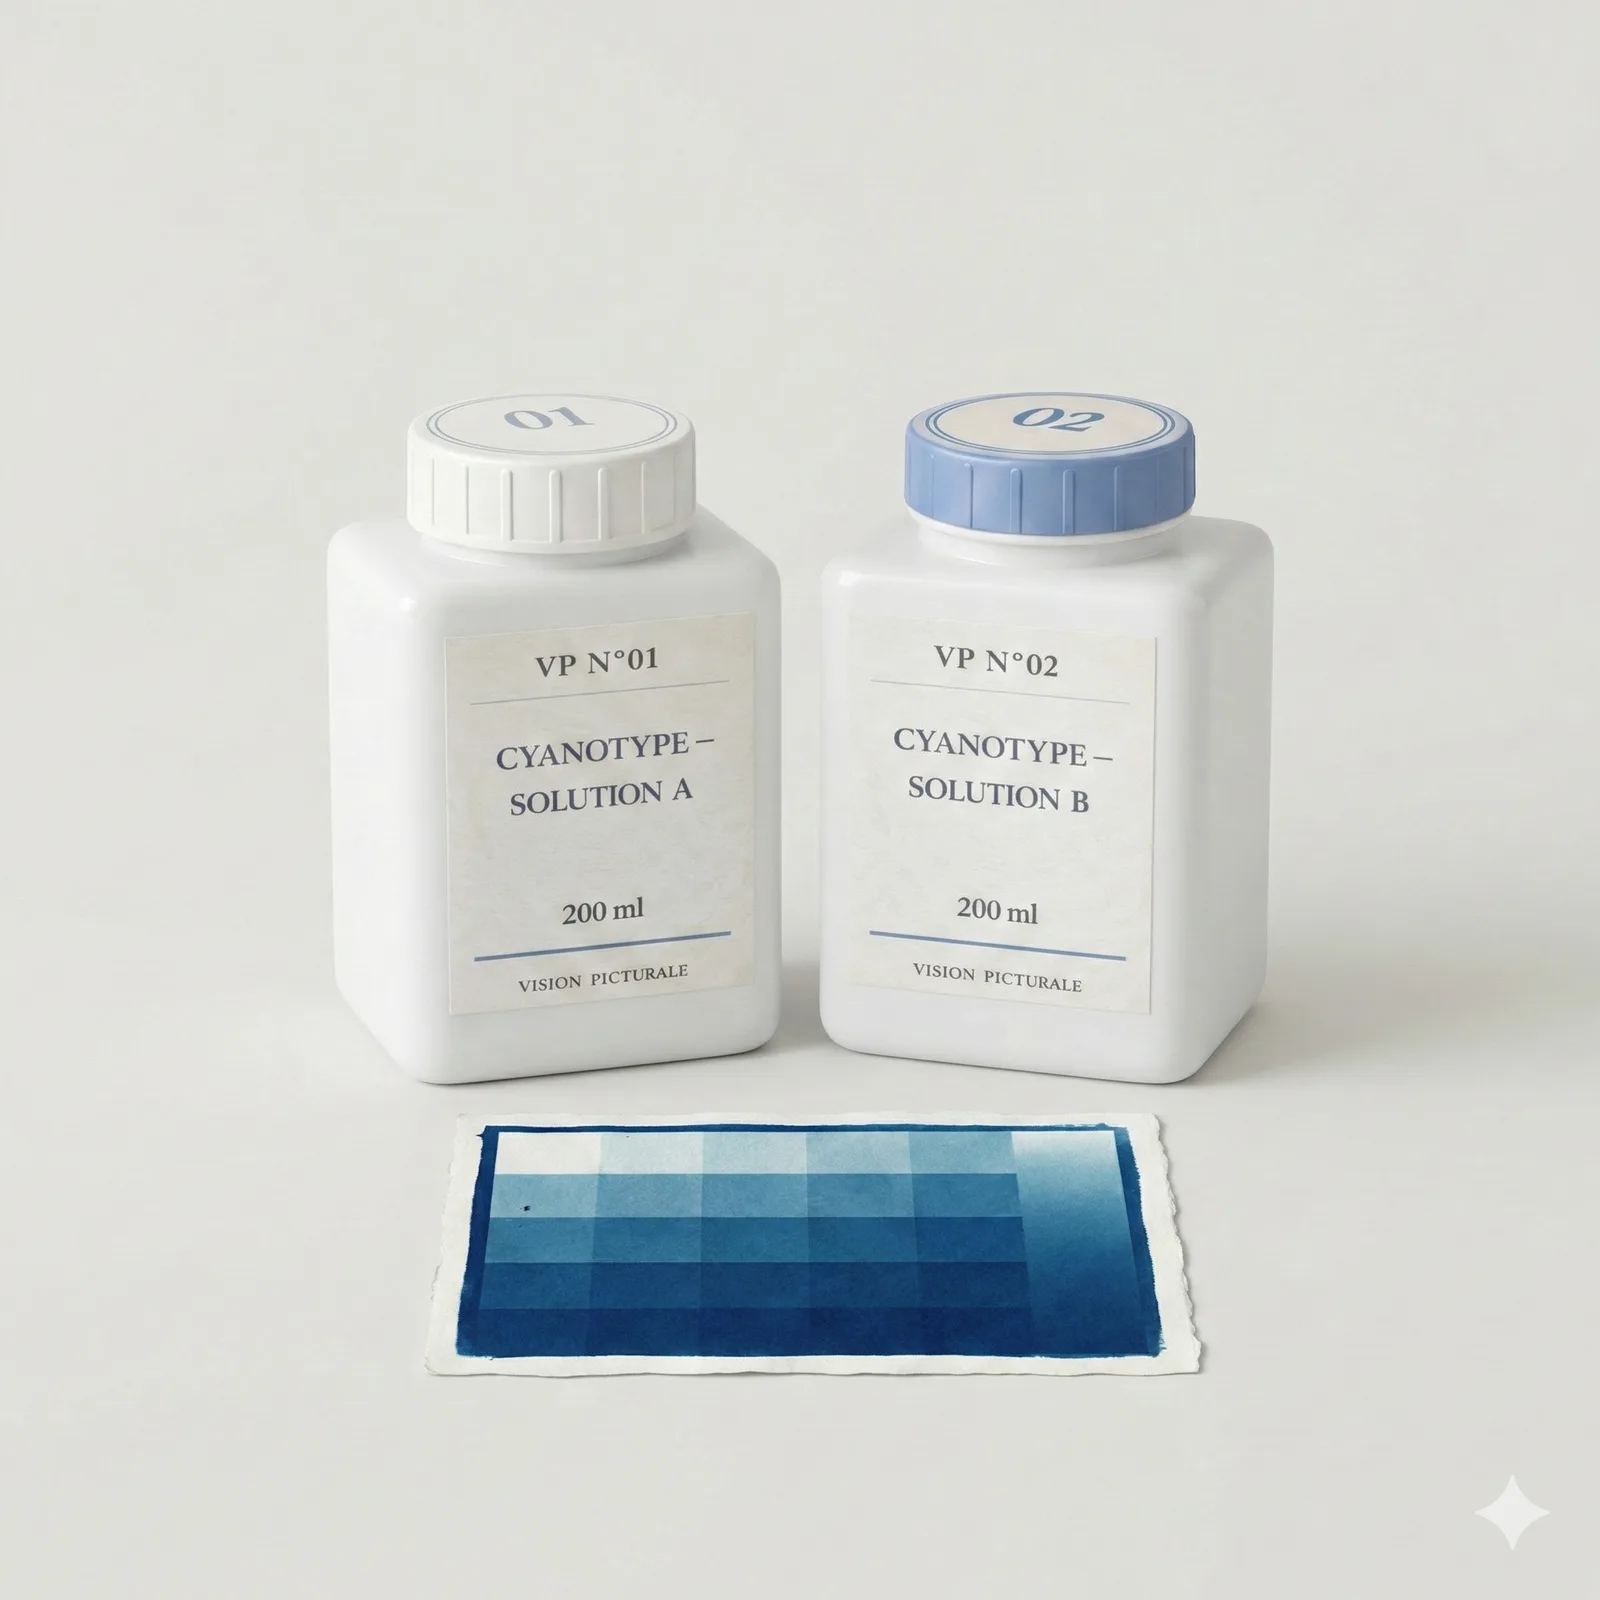
Prussian Blue
Iconic Blue Kit
Timeless Prussian blue — UV emulsion on cotton paper.
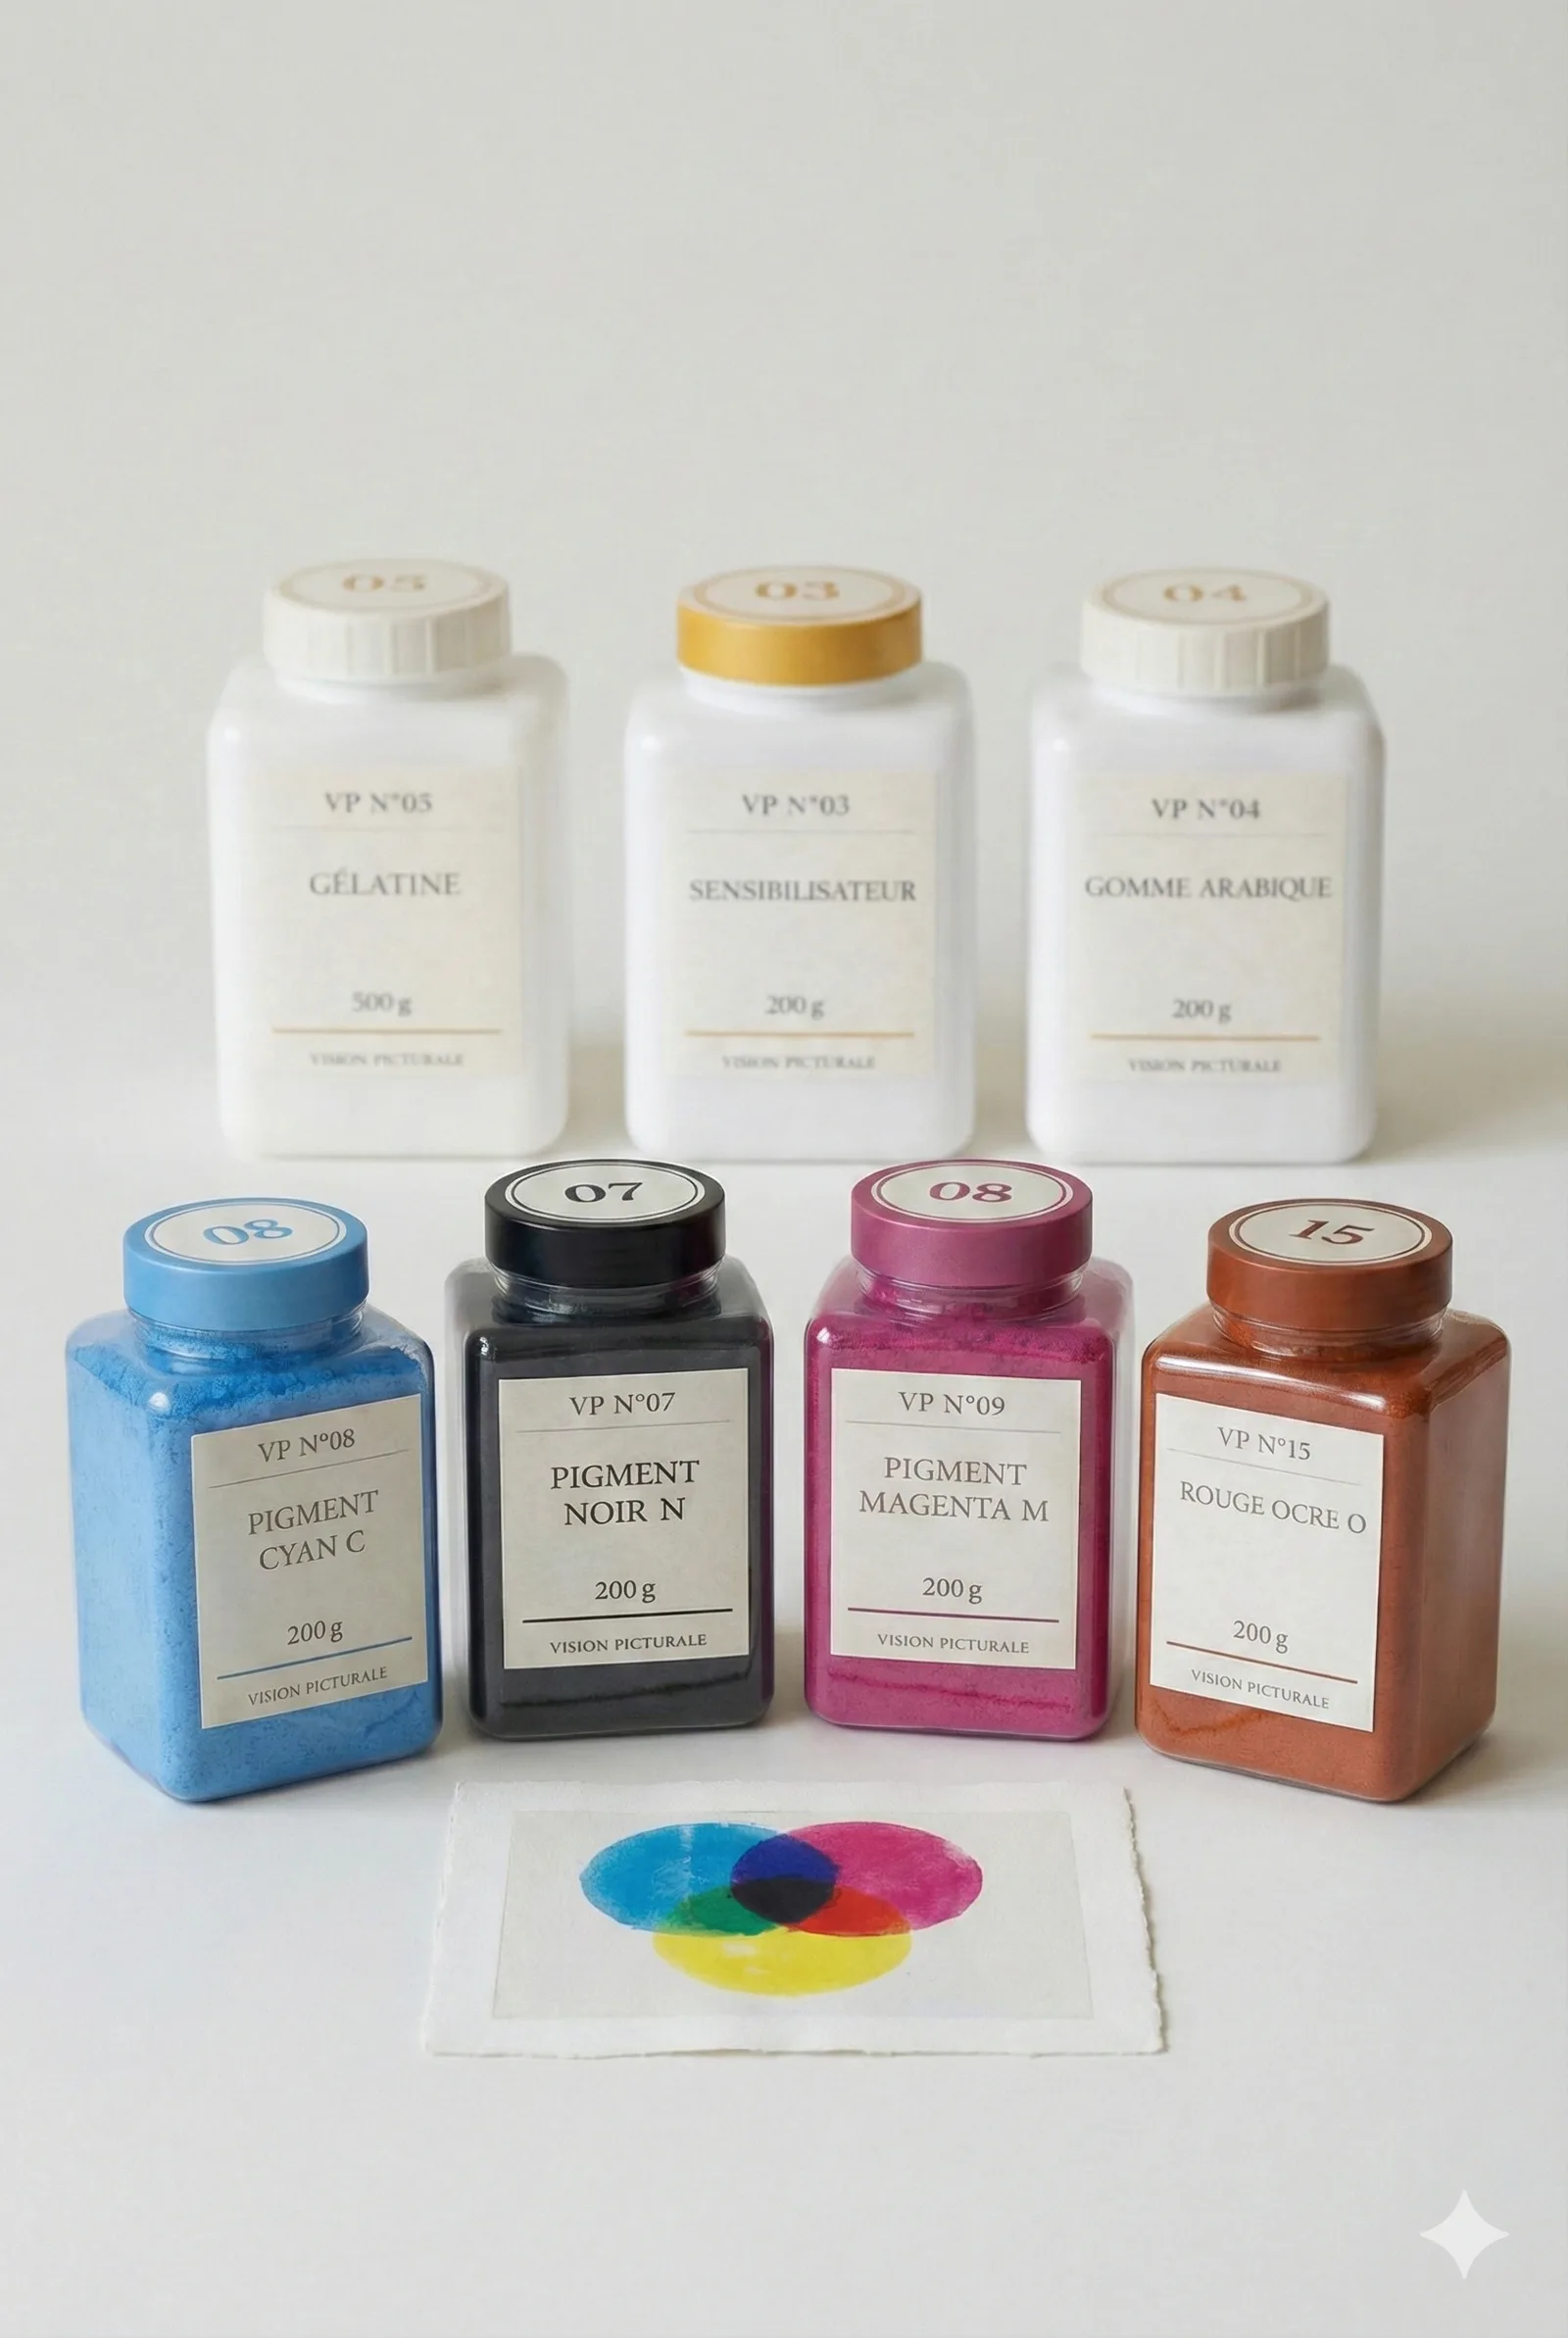
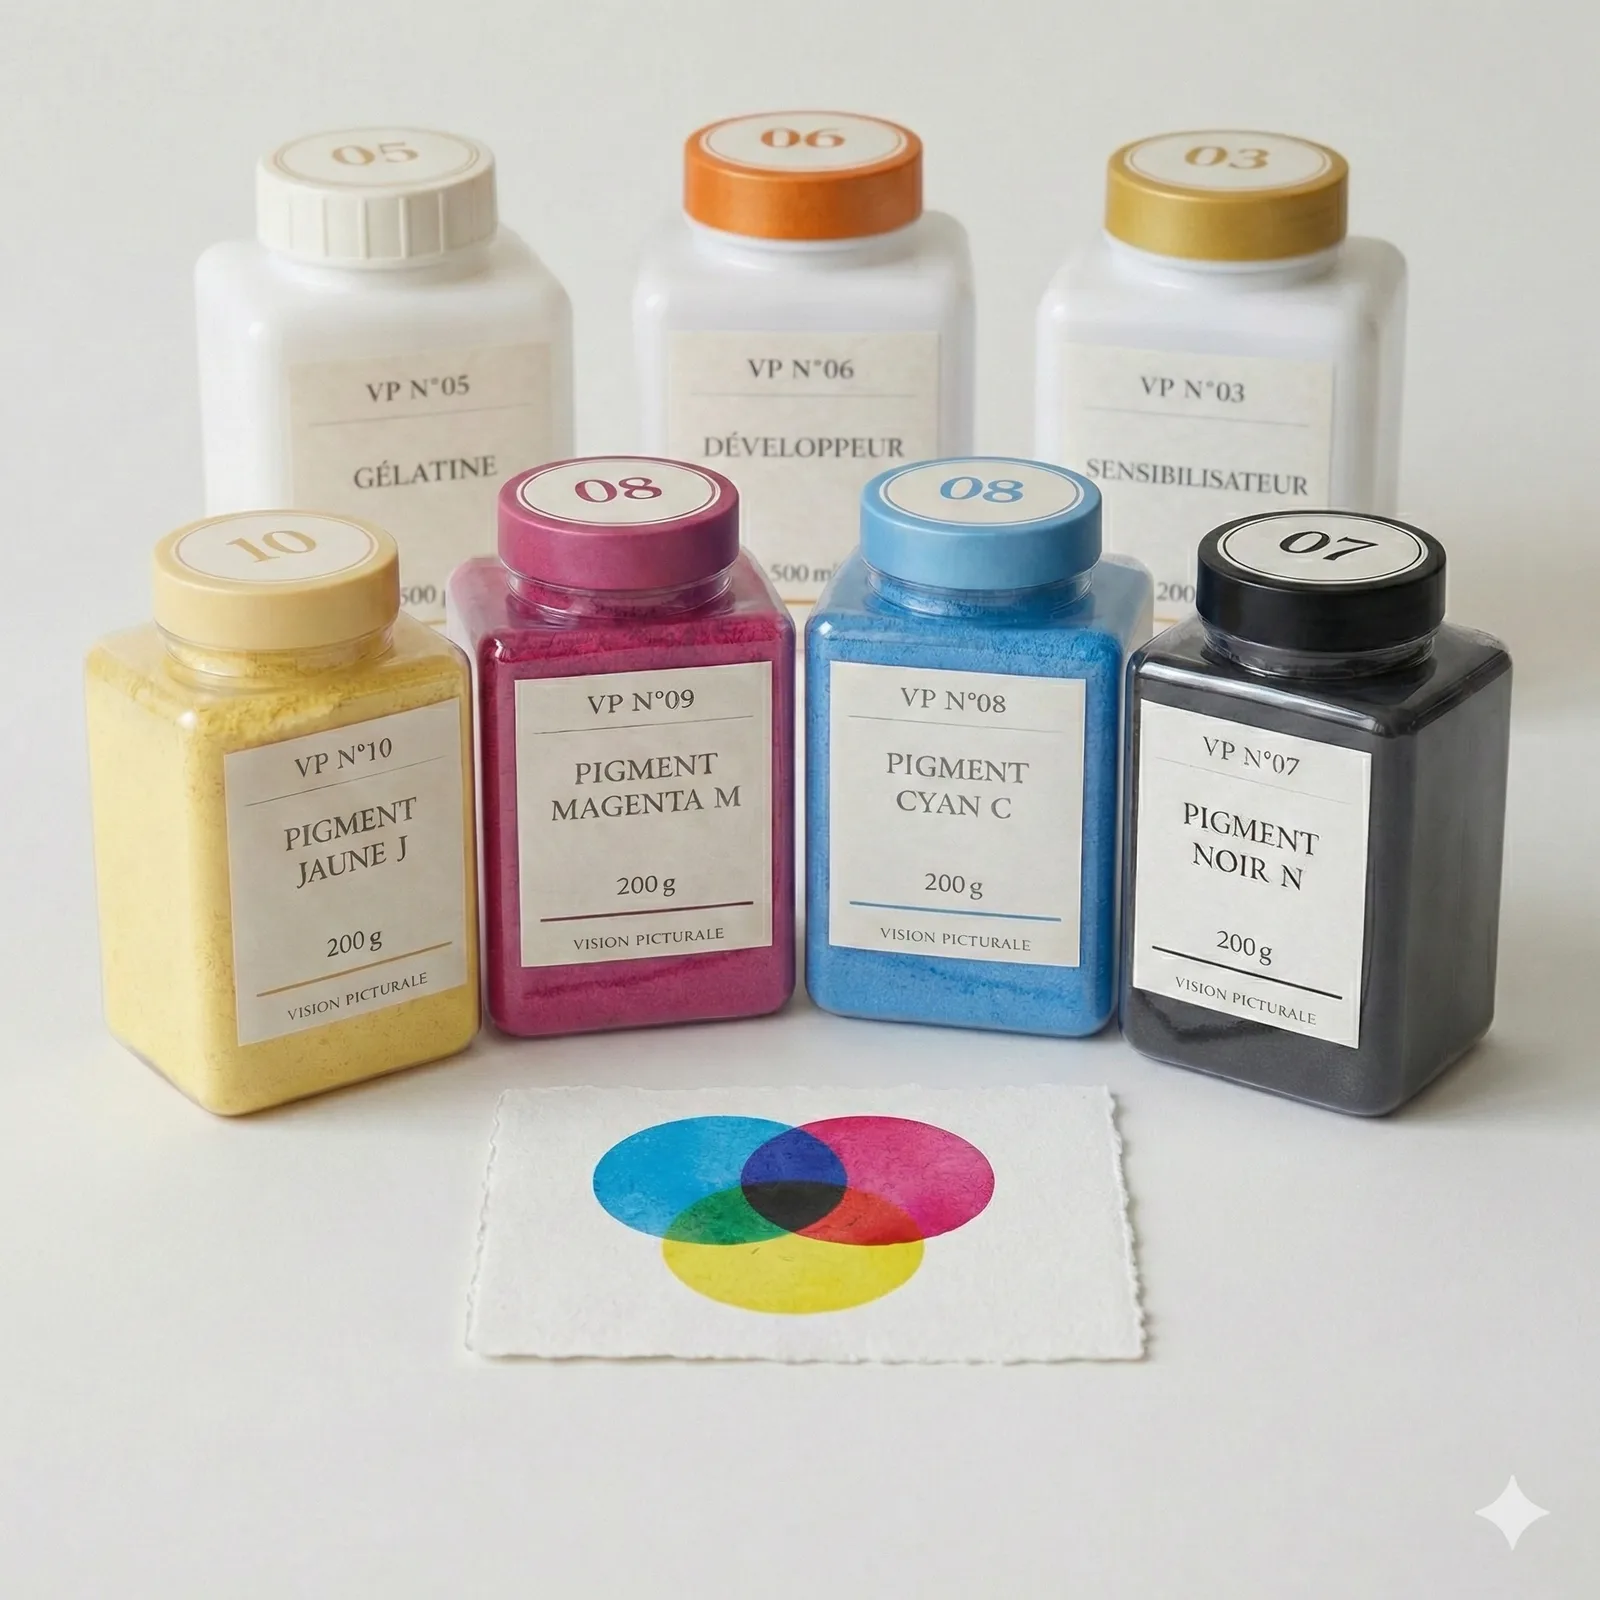
Four-color process
Pastel Color Kit
Pigment four-color process, layer after layer.
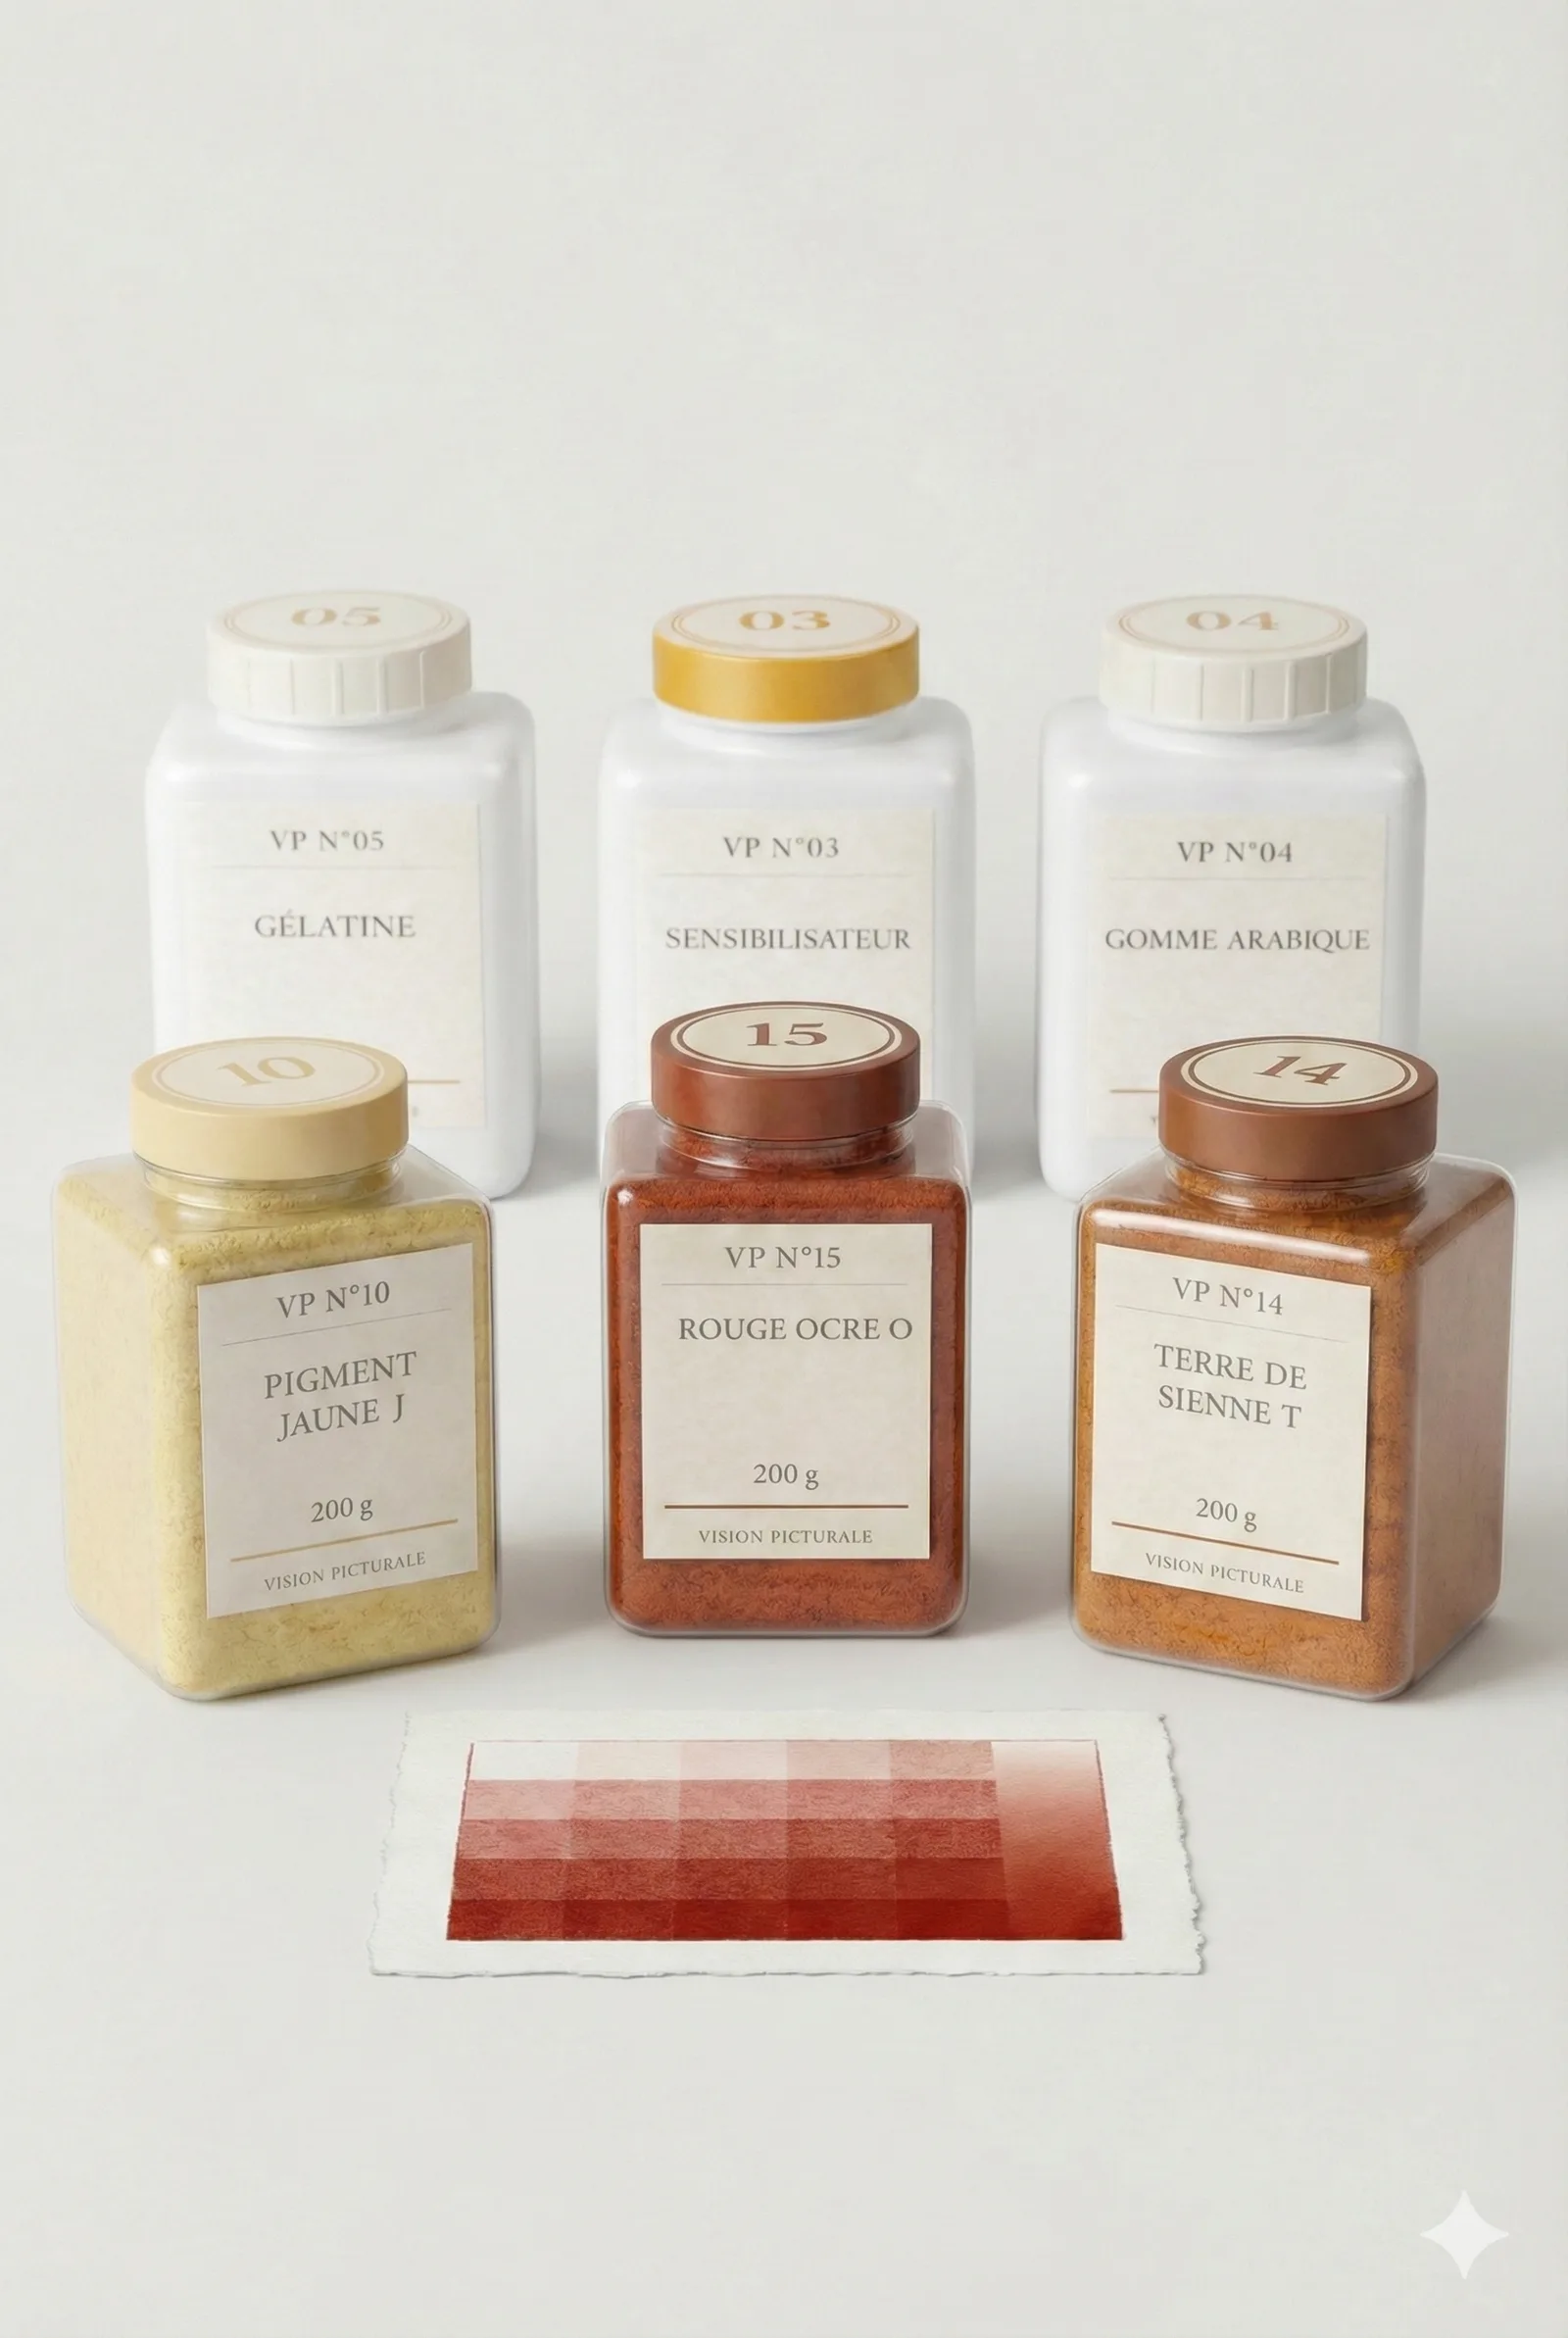
Pictorialism
Sanguine Kit
The soul of a Renaissance drawing — raw sienna monochrome.
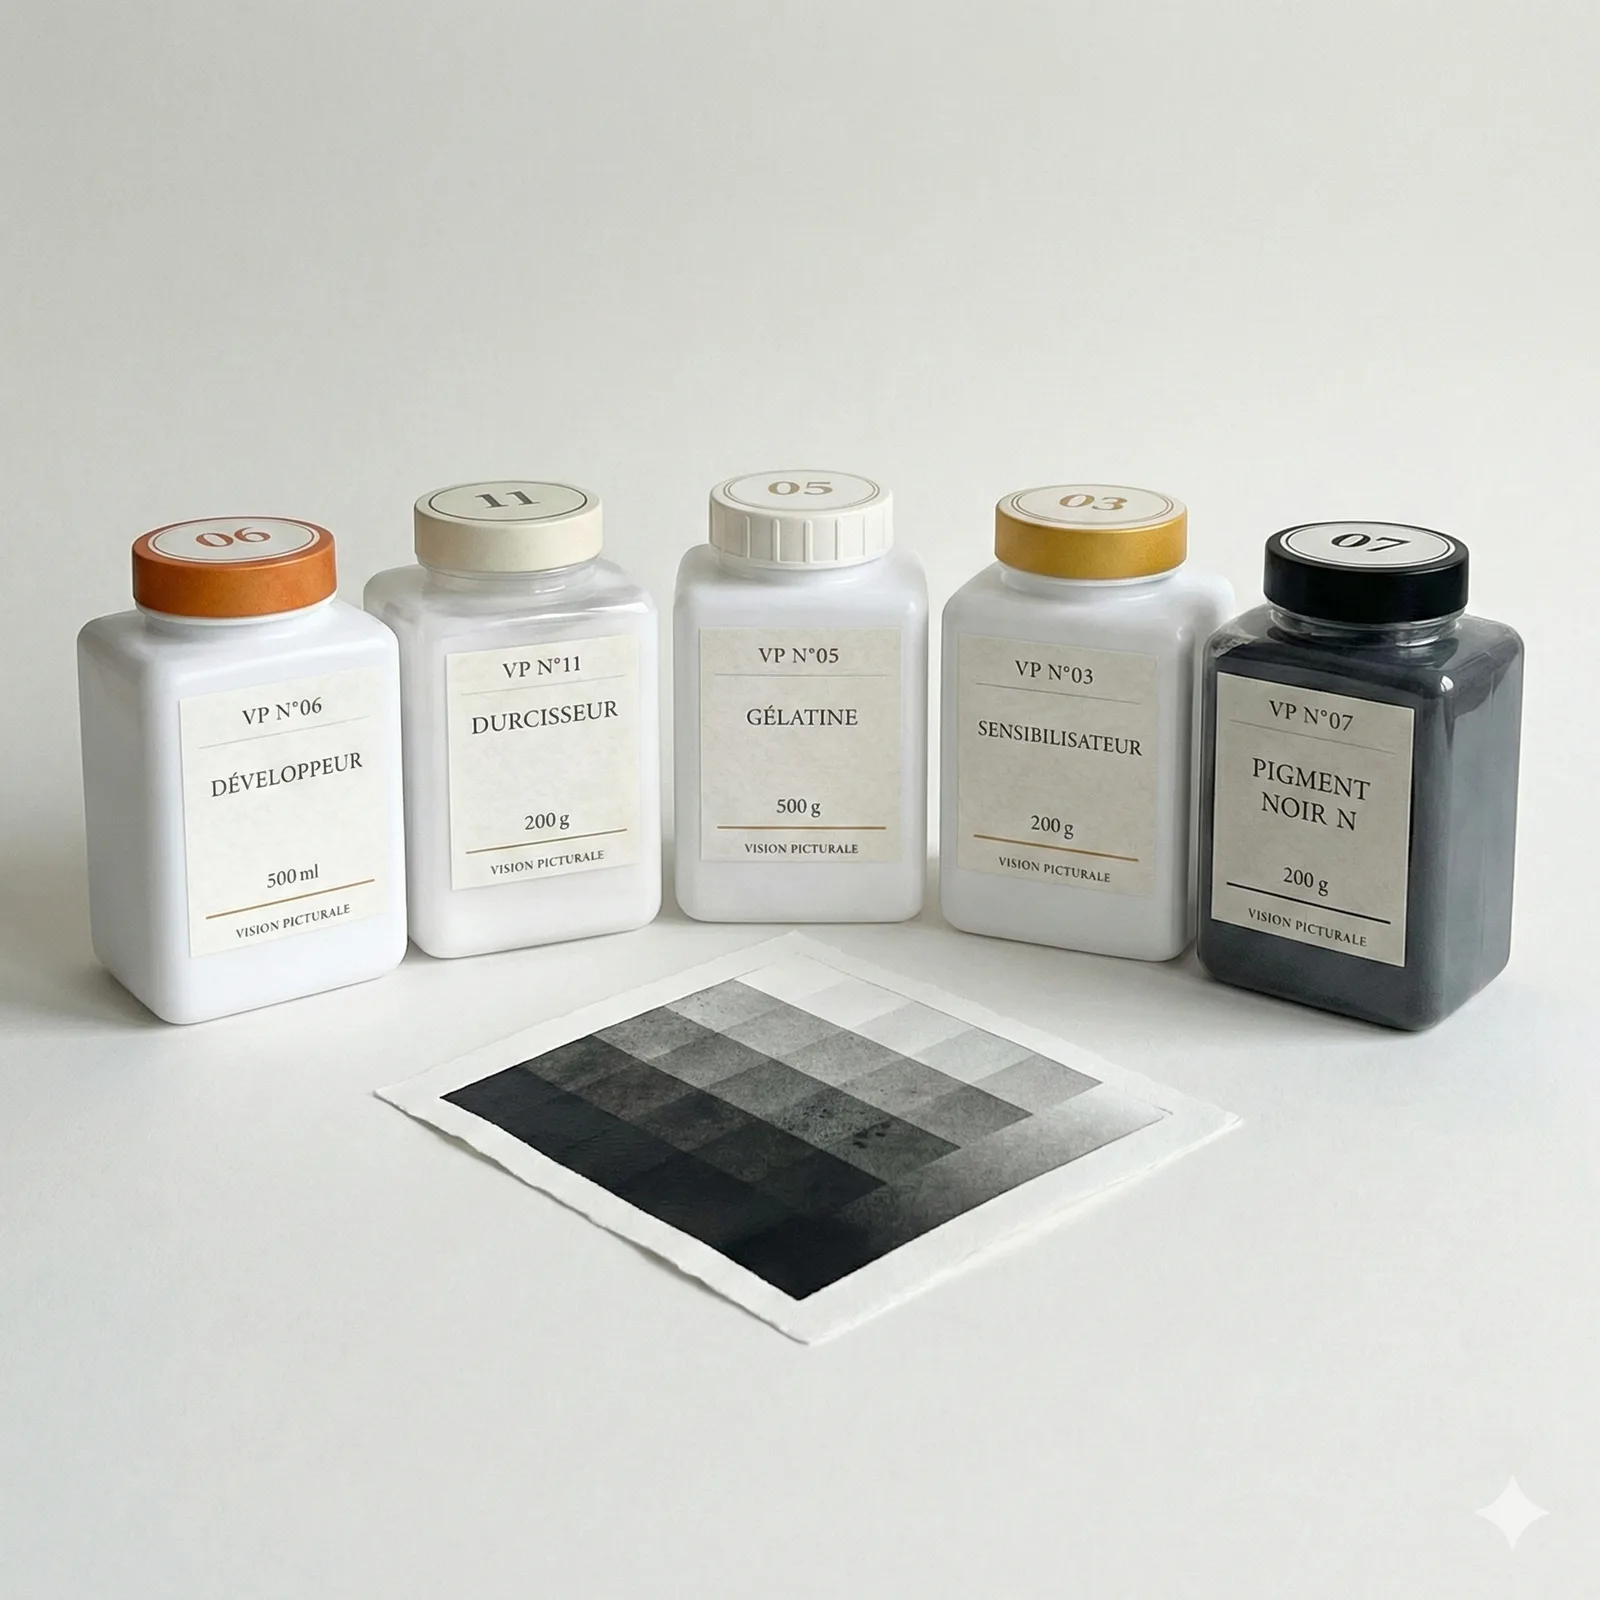
Deep black
Photo Watercolor Kit
Deep black, gentle touch — black pigment on gum.
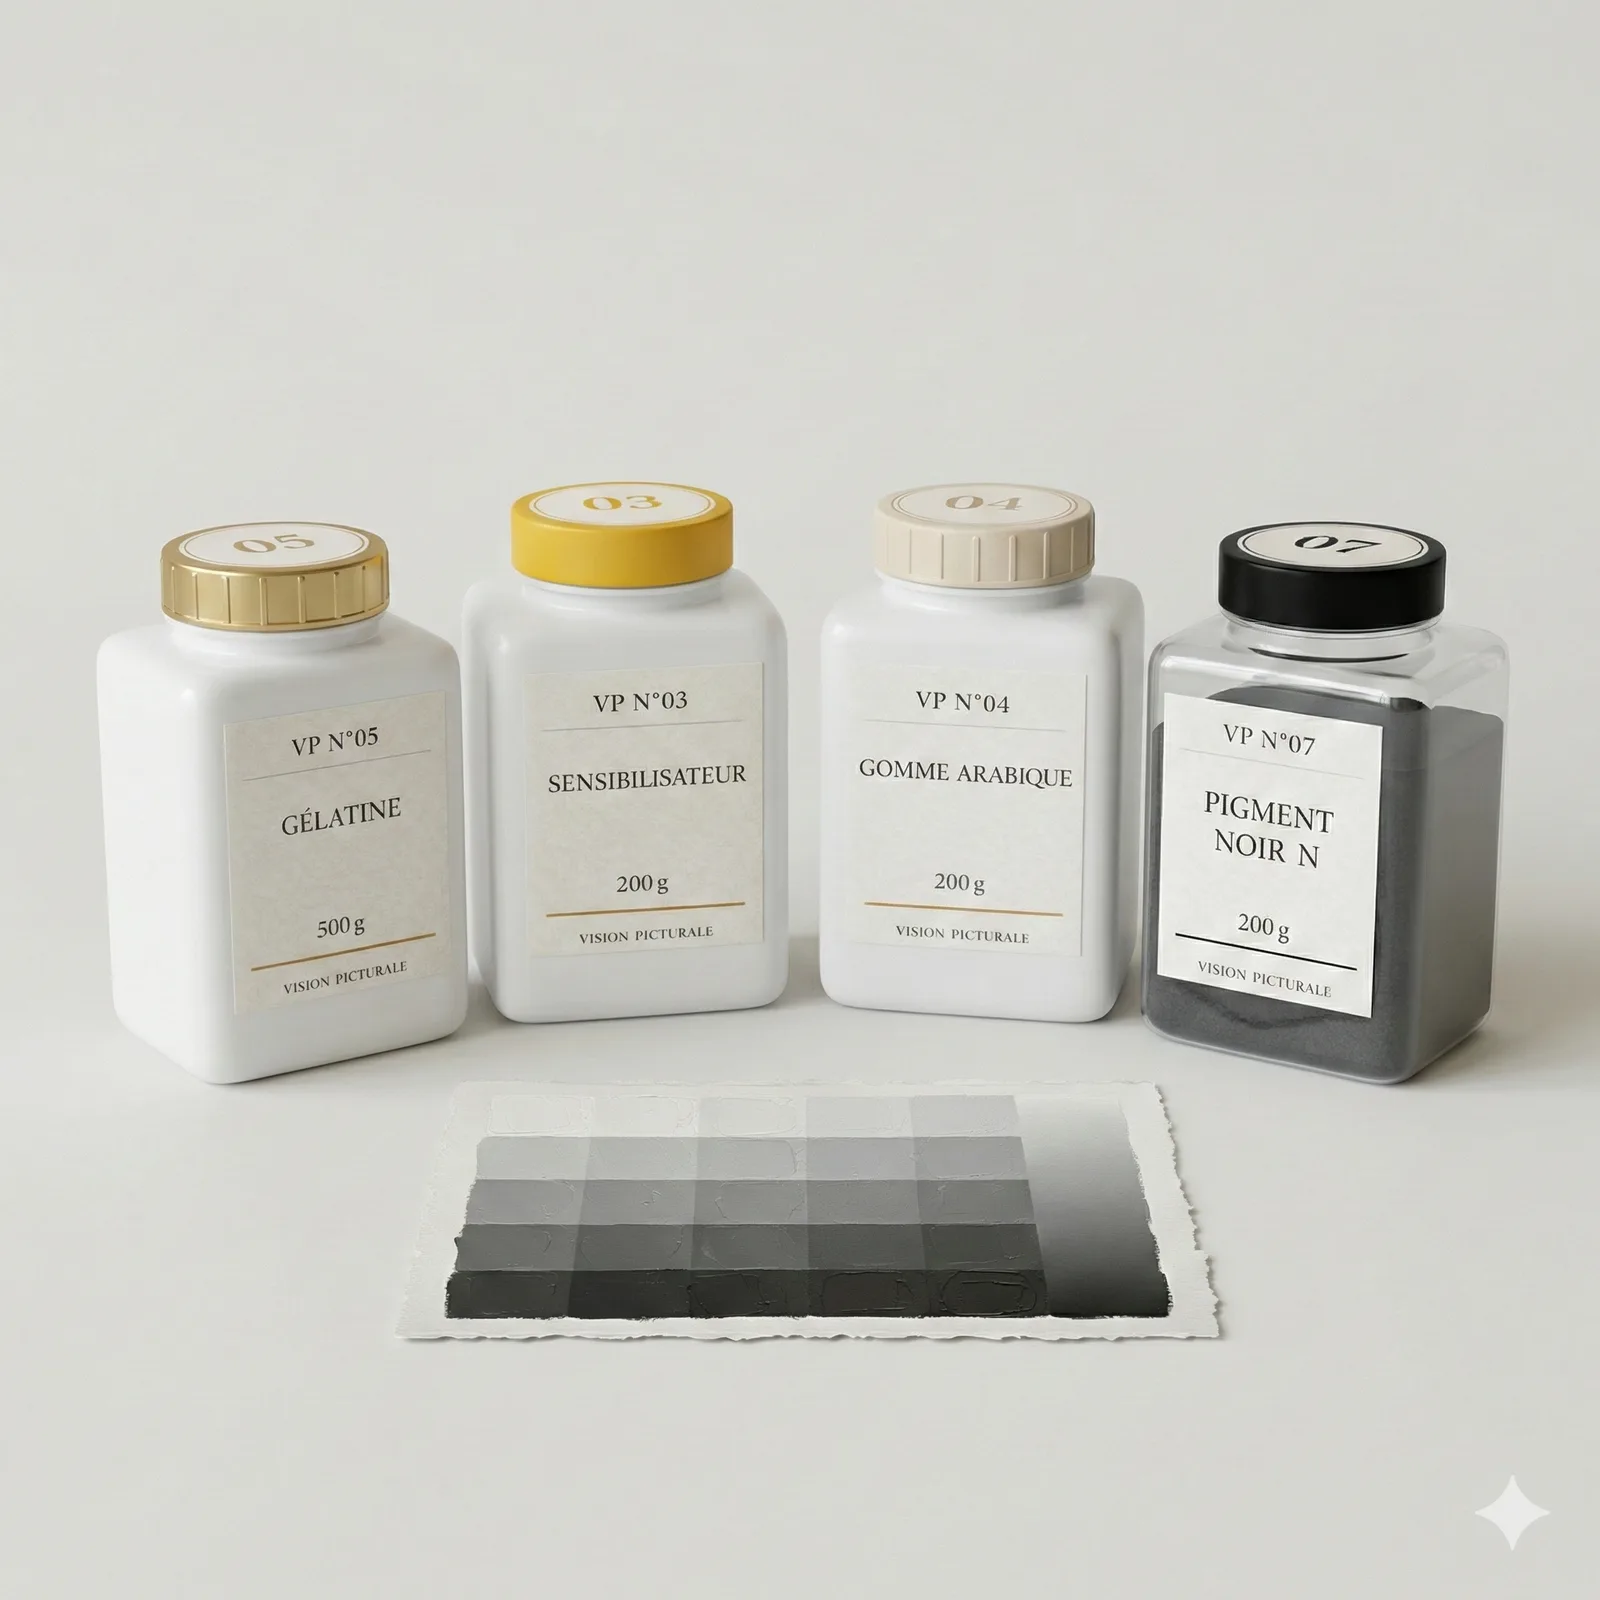
Oil & gum
Ink Wash Kit
Raw pigments on gum, between engraving and photography.
Oil-based ink
Living Oil Kit
Between painting and photography — oil inking on gelatin.
Glossy finish
Mineral Velvet Kit
Varnished finish, unique depth — resin and carbon powder.
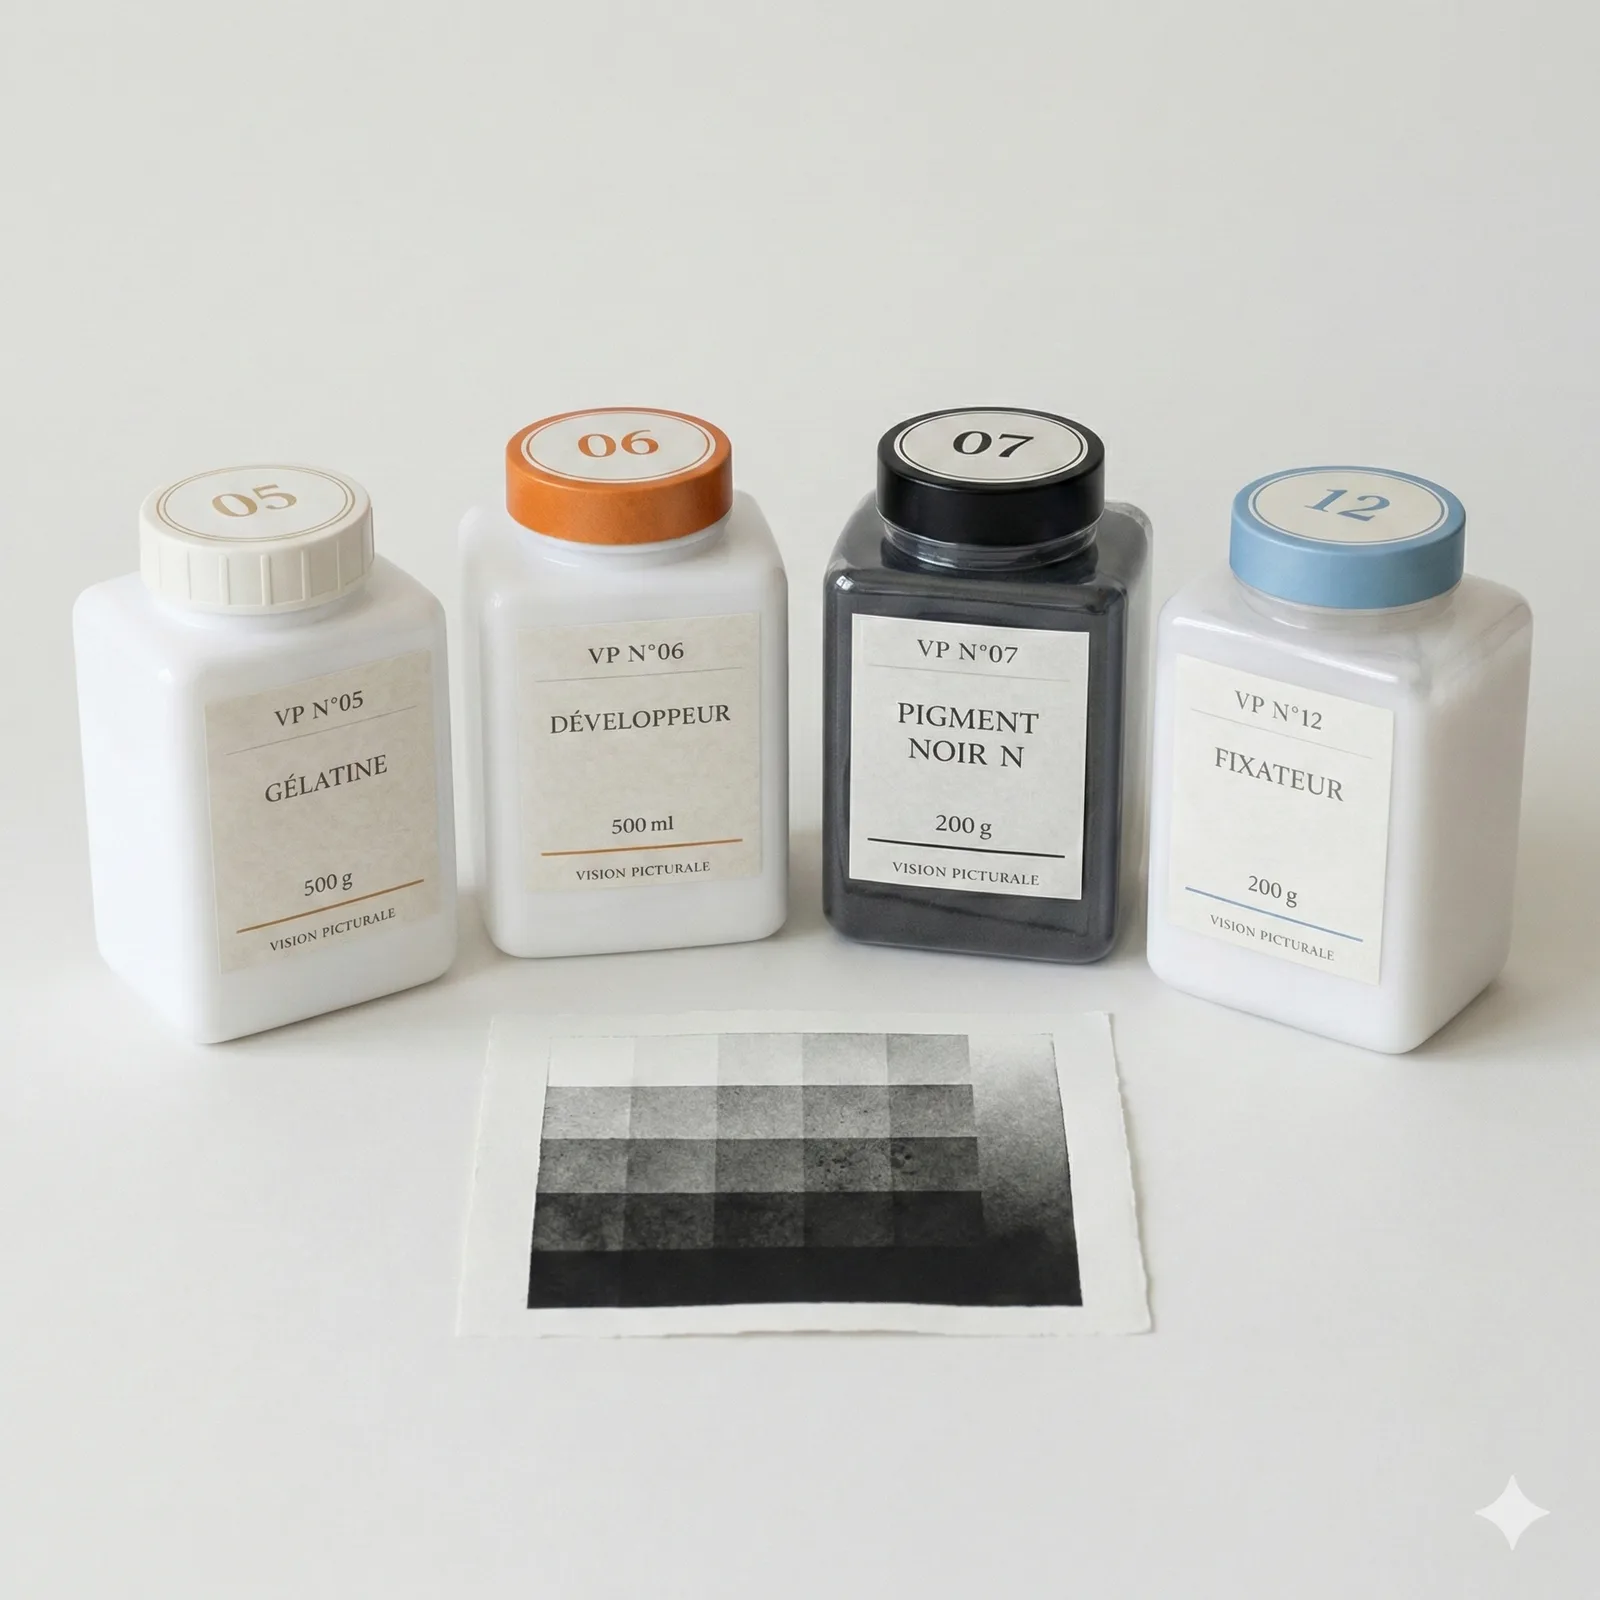
Deep black
Museum Black Kit
The Holy Grail of monochrome printing — centuries of archival permanence.
Natural pigments
Deep Color Kit
Three passes, eternal colors — the Rolls-Royce of analog color.