
A digital negative is a negative printed on transparency film from an image file, placed in direct contact with hand-sensitized paper during UV exposure. It replaces the large-format film negative of the historical processes. Every alternative process — cyanotype, Aquaprint, bromoil, carbon transfer, gumoil, resinotype — is a contact process with no enlargement: UV light passes through the negative pressed against the paper and forms the image at 1:1 scale. The consequence is absolute: the negative must be printed at the final size of the print. An A4 print requires an A4 negative.
One Rule First: The Negative Is the Size of the Print
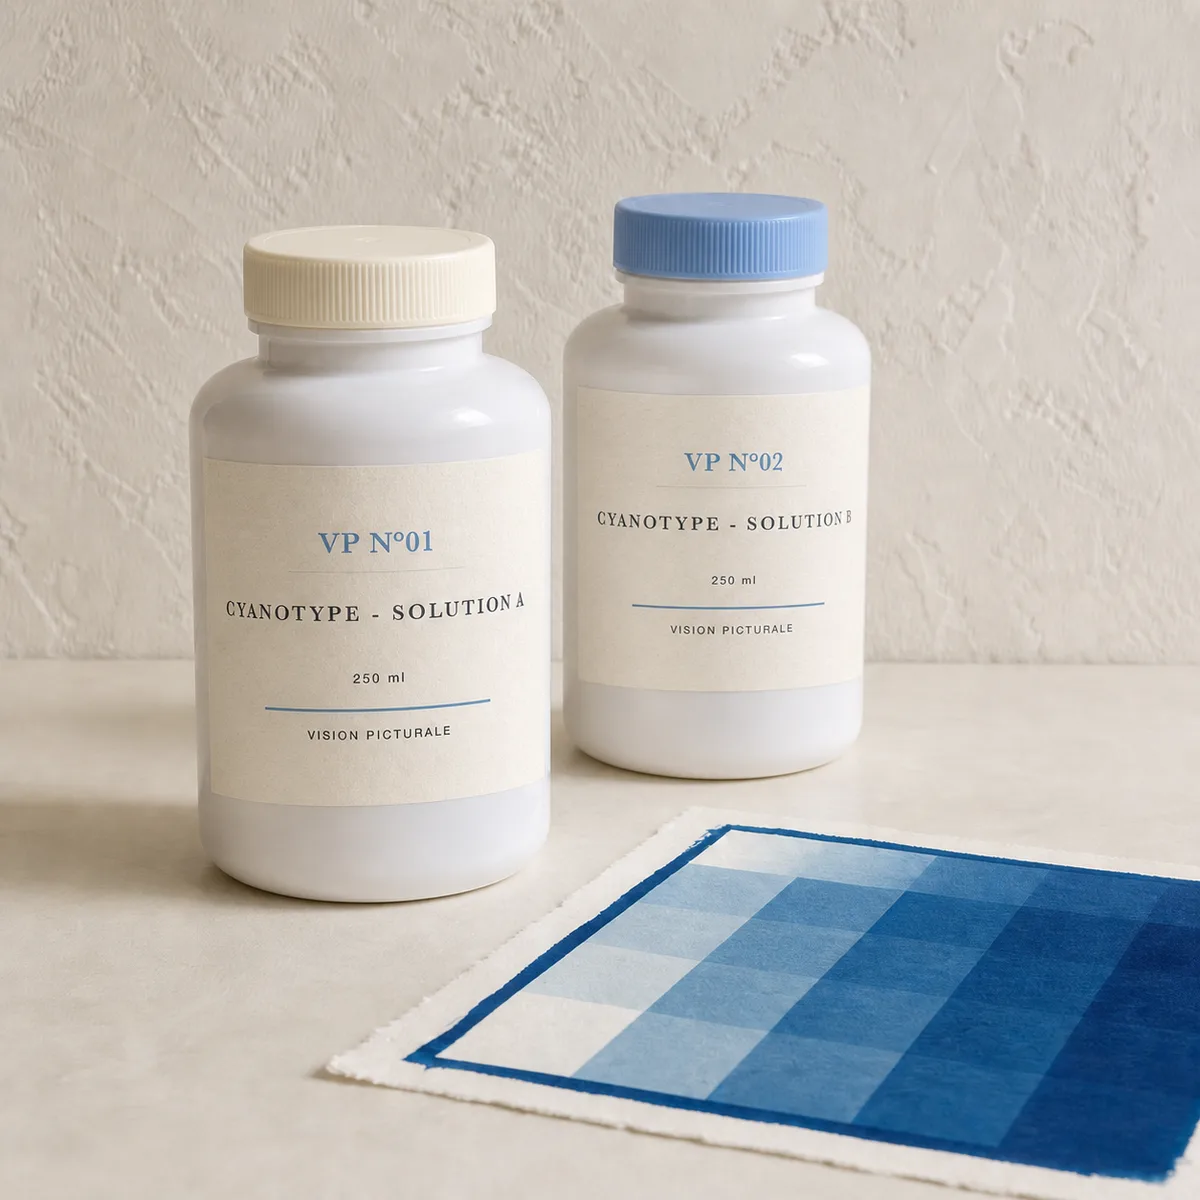
The mechanism is easiest to see with cyanotype. Dense areas of the negative block UV: the paper they protect dissolves away during rinsing, revealing the white of the paper. Clear areas let UV through: the chemistry stays fixed there as Prussian blue. Exposure lasts 5 to 15 minutes under a 365 nm UV-A unit placed 30 cm away — or 3 to 8 minutes in midday summer sun — depending on the negative's density. The negative is, quite literally, half of the image.
The requirement runs across the whole catalogue: every process needs a good negative on transparency film and a UV source. Color multiplies it: CMYK Aquaprint requires four separation negatives, one per pigment, and Carbon CMYK — Deep Colour carbon transfer four CMYK negatives registered to within half a millimeter. One exception: the VP resinotype, revealed with a foam roller, prints from a positive — there, the UV-hardened areas are the ones that grab the powder pigment.
The Equipment: An Inkjet Printer and Transparency Film
A standard inkjet printer is all the printing hardware a digital negative requires — no darkroom equipment whatsoever. The Vision Picturale cyanotype kit FAQ sums up the toolkit: 'just an inkjet printer, a hair dryer, and access to water.' VP kits include digital access to ICC profiles for inkjet printers, built to produce optimized negatives for each process; the house recommendation is the Epson EcoTank.
The printing support is standard inkjet transparency film. Vision Picturale selects PET films compatible with UV-sensitive chemistries — compatibility matters more than any brand name. For a first attempt, each cyanotype kit ships with a sample transparent negative ready to expose, letting you validate your whole exposure chain before printing your own file.
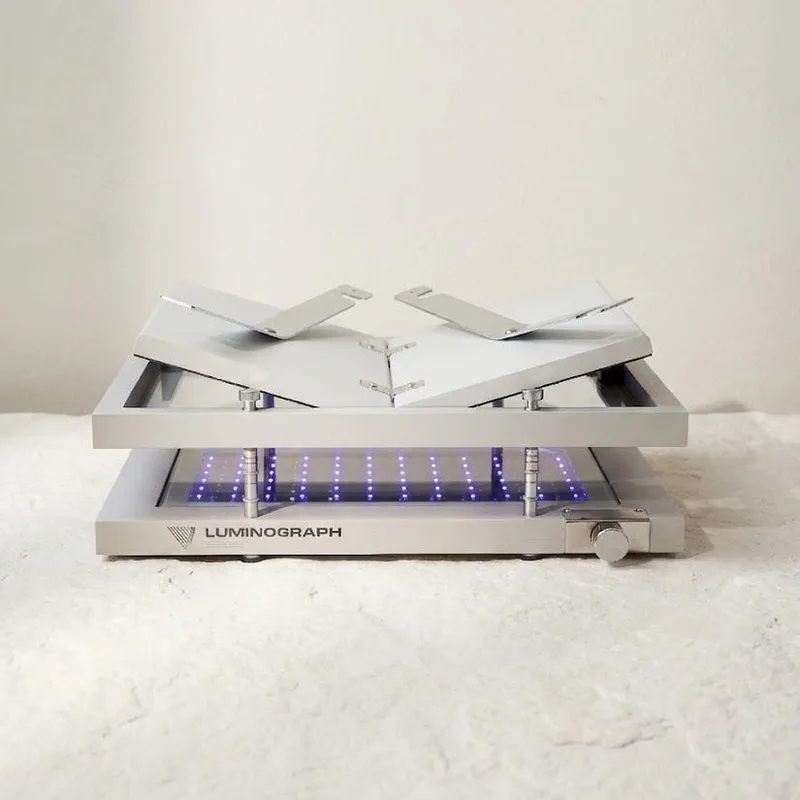
The last element is the contact device. A sheet of glass pressed over the negative-paper sandwich is enough to start; a hinged contact printing frame improves negative-to-paper contact. The Luminograph goes further with a two-arm press frame designed for optimal contact: sharp detail, no diffusion blur. The complete cyanotype starting equipment — paper, brush, tray, gloves, film and frame — stays under one hundred euros, excluding the kit and the UV unit.
Preparing the File: Inversion, Mirroring, Linearization
Three operations turn a photograph into a printable negative: value inversion, horizontal mirroring, and a linearization curve. Inversion first: the file prints as a negative, with values reversed. The highlights of the image become the dense areas of the film — the ones that will block UV and stay white on the print — while the shadows become clear and let the chemistry harden. Most image editors perform this inversion in a single command.
Mirroring next: the negative is exposed emulsion side — the printed face — against the paper, under glass, to eliminate any film thickness between the ink and the sensitized coating. The image must therefore be flipped horizontally in the file, or the final print will read left-right reversed. The mistake is invisible on a photogram or a symmetrical subject, and glaring as soon as the image contains text or a face.
Linearization last: every process — and every pigment in four-color work — has its own response curve; without compensation, the grey values of the file will not translate faithfully into the print. The ICC profiles supplied with Vision Picturale kits compensate for these curves process by process. With gum's narrow exposure window, this is no refinement: a negative that is too light or too dense ruins the coat.
To build your own curve, Calibration Flow — the calibration app of the Picturale ecosystem — replaces the densitometer: it generates a 25-patch test chart to expose, measures the resulting print with your smartphone camera — no densitometer, no spectrophotometer, no Excel — then computes the corrective curve through robust LOWESS linearization and monotone PCHIP interpolation, applied directly in the app. The .acv export for Photoshop and Lightroom (Pro mode) comes on top. The app is free with sign-up, and one year of Pro comes with any Luminograph purchase.
UV Density: The Variable That Drives Exposure
Negative density directly drives exposure time. For cyanotype, exposure runs from 5 to 15 minutes under a 365 nm UV-A unit placed 30 cm away, and 3 to 8 minutes in midday summer sun — at constant light, the spread comes from the density of the negative. There is a visual cue: the image turns grey-bronze during exposure, the sign that exposure is sufficient.
Processes do not forgive equally. Cyanotype tolerates exposure variations of several minutes without visible degradation, which makes it the ideal training ground for negatives. Aquaprint gum, by contrast, demands a precise 2 to 5 minute exposure window per layer: a negative too light or too dense ruins the coat. The narrower the process window, the tighter the control of negative density must be — hence the linearization described above.
The UV source finally sets reproducibility. In sunlight, times range from 5 minutes to over an hour for the same emulsion, the same paper and the same negative, depending on the season. A UV unit like the Luminograph (395-400 nm UV-A) emits at constant power and makes times reproducible from print to print — the precondition for judging a negative, since density can only be evaluated at constant exposure. Our UV exposure unit guide covers that choice in detail.
Common Mistakes
Most failed negatives come down to six identifiable mistakes, all avoidable from the very first print. Before blaming the chemistry or the paper, check the negative: in a contact process, it carries the geometry, the sharpness and the tonality of the final image.
The right diagnostic reflex is to change one variable at a time. A negative validated on cyanotype — a tolerant, single-coat, water-rinsed process — becomes the reference from which to approach the narrower windows of gum, carbon or bromoil.
- Printing the negative at a different size from the print: contact printing means no enlargement — the negative is made at the final print size.
- Forgetting the horizontal flip: exposed emulsion side against the paper, an unflipped negative yields a left-right reversed print.
- Printing without a compensation curve: a negative too light or too dense ruins the coat, especially in gum where the exposure window is narrow.
- Neglecting contact: any gap between film and paper creates diffusion blur — use a glass sheet, a hinged contact printing frame, or the Luminograph's press frame.
- Reusing one negative across processes: each process and each pigment has its own response curve; in four-color work, each layer needs its own separation negative.
- Judging a negative by sunlight: exposure varies from 5 minutes to over an hour with the season; only a constant-output UV source allows a fair comparison.
Further reading: cyanotype · choosing a UV exposure unit · the Luminograph · Calibration Flow
Tristan Sidem & Raphaël Lebas de Lacour — Vision Picturale