
Gum bichromate (or "gum print") is one of the most expressive alternative photographic processes — polychromatic prints with a painterly richness close to watercolor. The historical recipe uses potassium or ammonium bichromate, an oxidizer classified as irritant and potentially carcinogenic. Not something you want to use at home.
At Vision Picturale, we reformulated this process under the name Aquaprint. The same painterly result and color freedom, in a bichromate-free formulation. Consult each product's safety information and the relevant safety data sheet (SDS) when available before handling.
Aquaprint vs. historical gum bichromate: what's different?
Aquaprint replaces potassium bichromate with a VP sensitizing system without bichromate. It remains a photographic-chemistry process: the VP N°03 developer is harmful if swallowed and skin contact must be avoided. Wear the indicated protection and consult the safety information, then the relevant SDS when available, before use.
Materials for your first Aquaprint
- An Aquaprint pouch — gum, pigment and sensitiser already mixed, 350 ml, in the Aquaprint CMYK kit
- VP N°03 Developer — the bath that reveals and fixes the print
- The colour of your choice — one pouch per hue (black, cyan, magenta, yellow, ochre, red…)
- Watercolor paper 300 gsm minimum, no optical brighteners
- A digital negative printed on transparent film
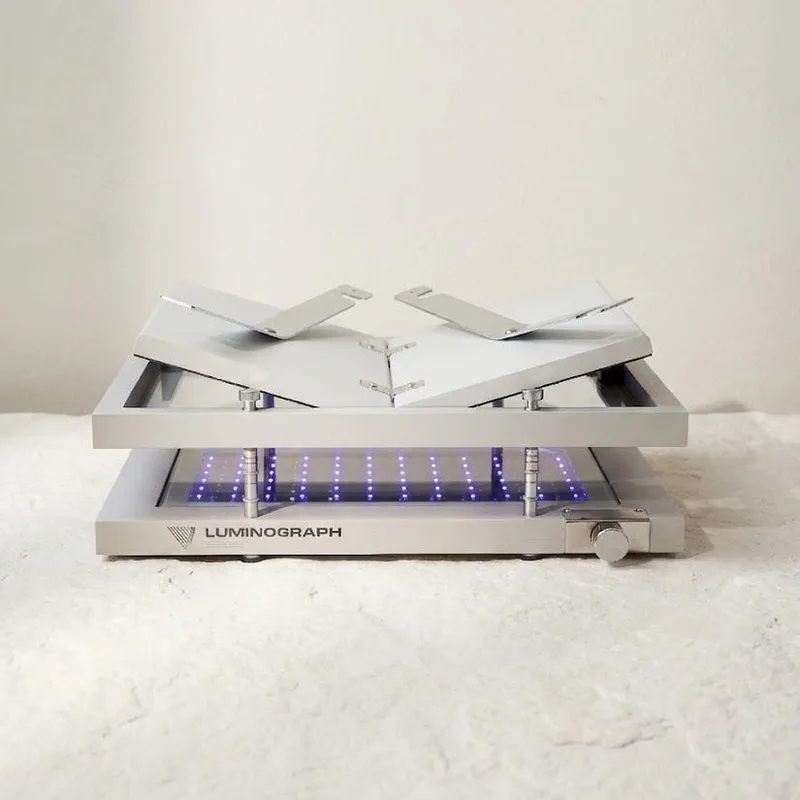
- A UV source — direct sun or Luminograph
Step 1: Prepare the Aquaprint emulsion
Pour the pouch into a bowl: gum, pigment and sensitiser are already mixed, there is nothing to measure out. Work under incandescent light — the emulsion is UV-sensitive.
Step 2: Coat the paper
Apply a uniform coat using a flat brush or hake. Dry completely in the dark (30–45 minutes at room temperature).
Step 3: Expose to UV
Place your negative in contact with the paper under glass. Expose to UV — typically 3–8 minutes with a Luminograph, 2–5 minutes in direct summer sun.
Step 4: Develop in water
Immerse in a room-temperature water bath. Unexposed areas dissolve gradually in 10–30 minutes. Do not force — let the water work.
Step 5: Additional color passes
Once dry, re-coat with a second color. Layering cyan, magenta and yellow produces a richness that digital printing simply cannot replicate.
Learn more on the Aquaprint process page or order the Aquaprint CMYK kit directly.
Further reading: the history and chemistry of Aquaprint · fixing a failed print · the guide to alternative processes
Tristan Sidem & Raphaël Lebas de Lacour — Vision Picturale